Make sure set-up area is flat, free from objects on ground, and overhead power lines. Also, be aware of any buried gas or water lines.
· Place inflatable at location you want the back of the unit.
· Unroll and unfold.
· Hammer in the 2 back anchor stakes. (pull anchor point tight back and to the side)
· Zip all zippers.
· Attach Blower, and turn on. (tie off extra blower tube if applicable)
· After unit is fully inflated, anchor remaining anchor points. On slides, remember side strap anchors. (Side straps are same as straps used to transport on some units.)
· If WET unit, attach pool or pool liner, and water hose.
· If WET, unattach water hose.
· Turn off blower.
· If WET, stand on pool side to drain water out of pool. Unattach pool, if possible.
· Unzip all zippers.
· DO NOT TAKE OUT ACHOR STAKES YET.
· On bouncers, pull all material in to lay down on the bouncer base.
· On Slides, You want them to fall down as straight as possible.
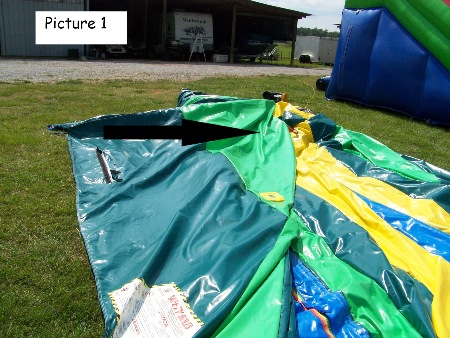
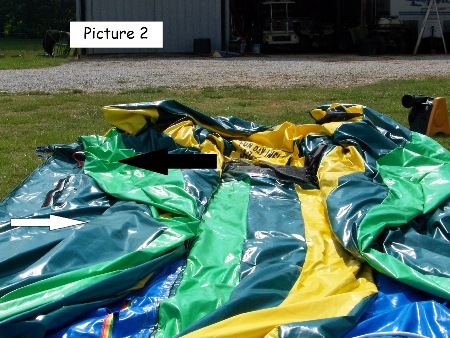
· Pull slide side at anchor point all the way across unit to other side, then fold back onto itself. (on step side, you want to try to make sure steps are laying flat, not twisted or folded.) PICTURE 1, PICTURE 2
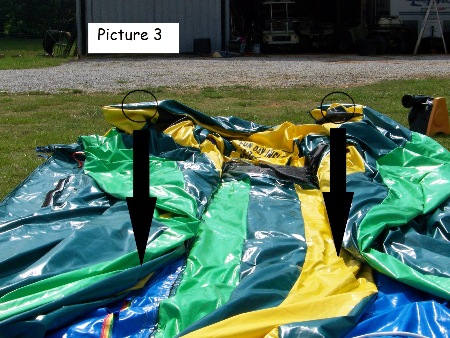
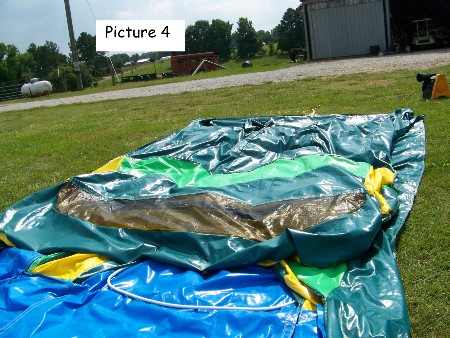
· At top most point of unit, pull forward. (This works best with 2 people pulling at same time) PICTURE 3, PICTURE 4
· Then walk on to flatten.
· At this time, Pull out all anchor stakes.
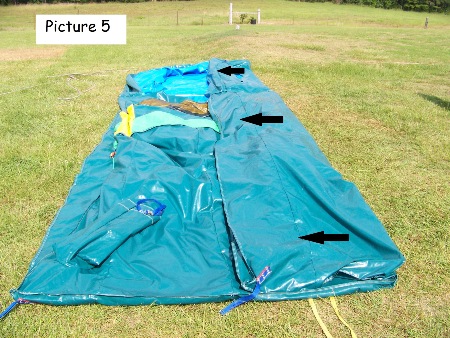
· Fold unit over about 1/3 of the way lengthways. (Fold step side first.) 2 Or 3 people work best, using middle anchor point and both ends, pull unit 1/3 of the way over onto itself. PICTURE 5
· Walk on to flatten.
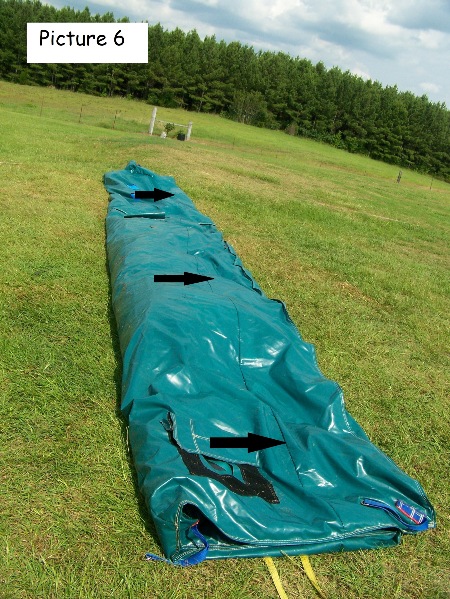
· Fold other side over onto itself. Again, using middle anchor point, pull over. PICTURE 6
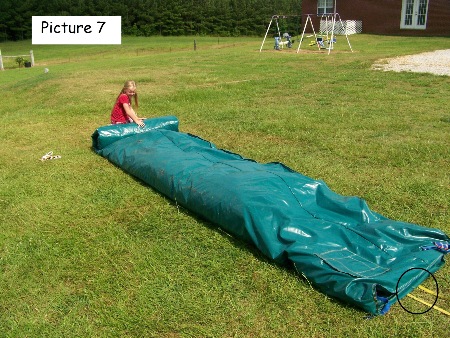
· Lift end and fold back end of unit with blower tube and place straps, then unfold end. PICTURE 7